UNC System Newsletter
Overview
The UNC System email newsletter program gives each each division a robust, flexible, and branded platform to engage audiences. The service delivers valuable information, provides a unified experience, and reinforces trust.
Instructions
This document provides step-by-step instructions on how to create a campaign and manage the seven email templates that have been developed and loaded onto the UNC System Office MailChimp account. For account information, contact the Communications Office.

Create a Campaign
- Login to the your divisions MailChimp account
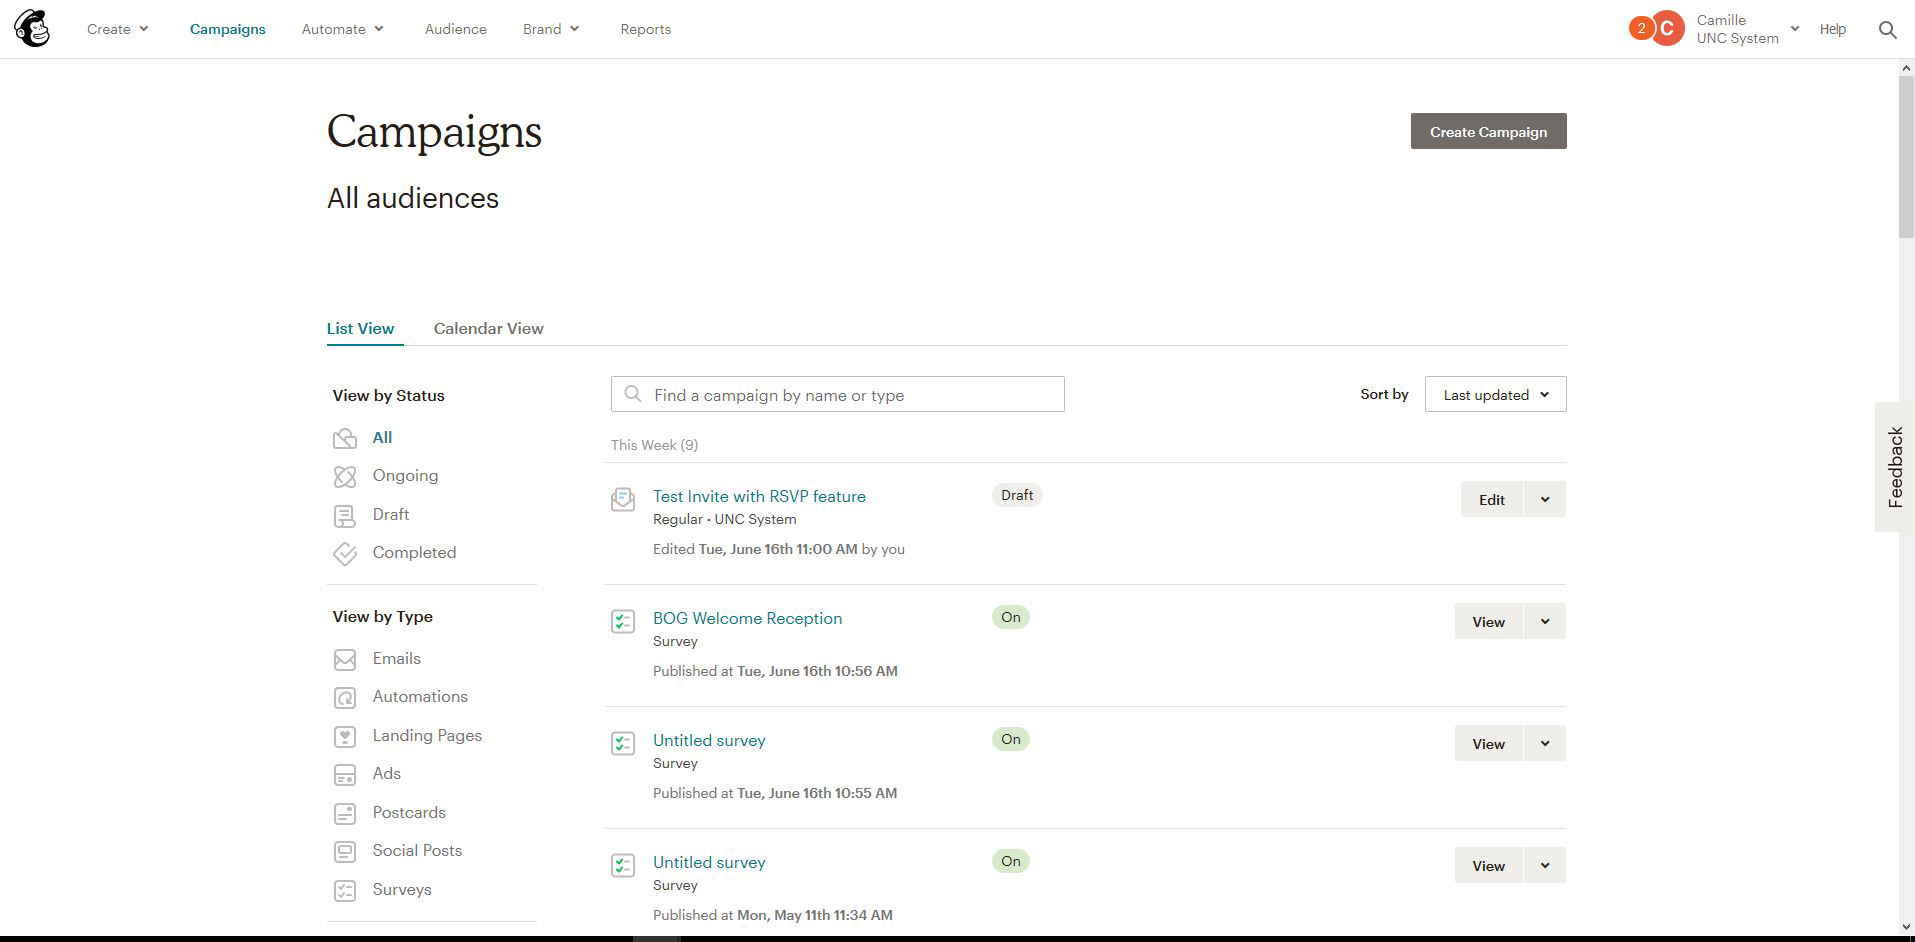
- At the top of the page, click on the “Campaigns” link
- Once on the Campaigns page, click on the “Create Campaign” button
- On the next screen, select “Email”
- On the next screen, enter the Campaign Name, and click “Begin”
- Enter the Campaign details:
- To (Select contacts. See the Audience Management section for more information.)
- From (set sender name and email)
Do not forget to add the subdomain to the from address; ex. sender@systemoffice.northcarolina.edu. Otherwise, the email could end up in the recipient’s junk email folder.
- Subject and Preview Text
- Subject – The subject line for the email
Some recommendations:- Try to use no more than 9 words
- Avoid using more than 60 characters
- Preview – The snippet will appear in the inbox after the subject line (150 characters including spaces)
- Subject – The subject line for the email
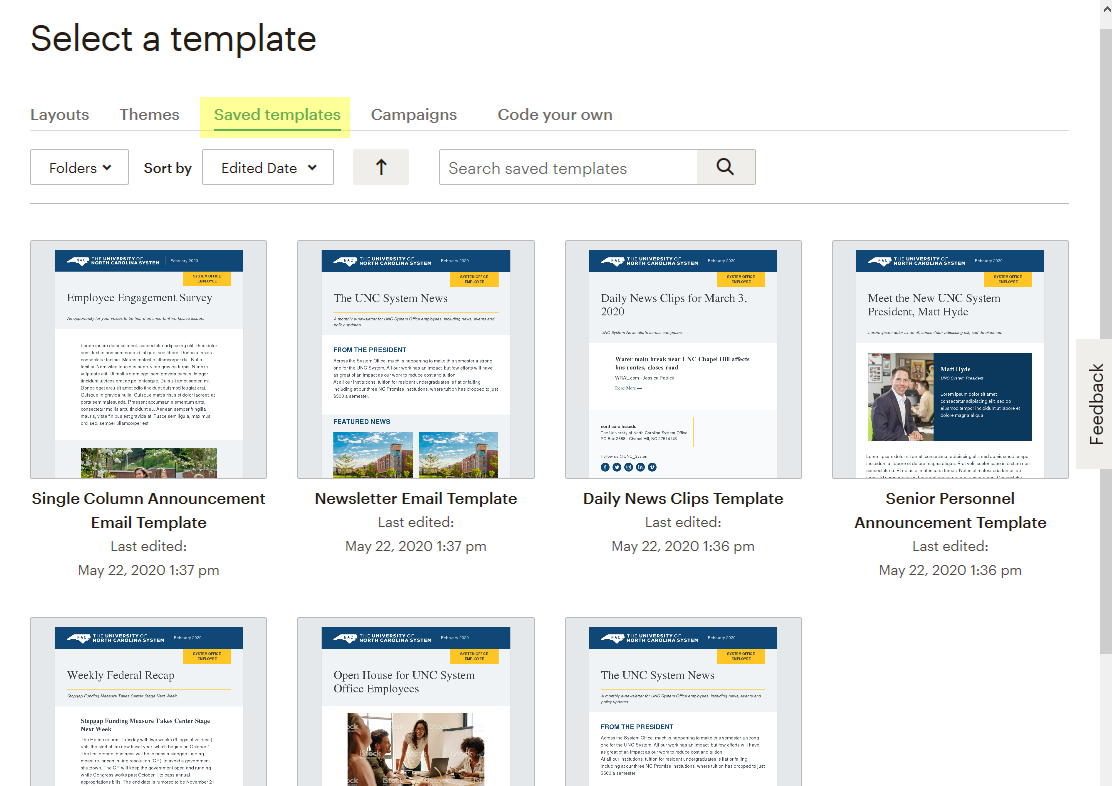
- Content – You will be taken to a screen where you select the template for the campaign.On this screen, click on the “Saved templates” tab, and select one of the seven templates (click a type to learn more):
Here is a video that demonstrates how to create a MailChimp Campaign: https://www.loom.com/share/4369263d9d3c46a8a68129c86fe4f45d
Campaigns
– Note –
The “To,” “From,” and “Subject” can be added at any time before sending.
Do not forget to add the subdomain to the from address; ex. sender@systemoffice.northcarolina.edu. Otherwise, the email could end up in the recipient’s junk email folder.
Templates
Add Audience
- Go to MailChimp.com and log in using your division account.
- Click Audience on the top menu.
- Click Manage Audience and select Import Contacts
- Select either Upload file or Copy and Paste and click select
- Upload File
- Navigate to the file you want to use
- Select Continue to Match
- Select the boxes you want MailChimp to assign
- Select Continue to Match
- Add Tag (Group and Date, Event title, etc) and select Update Existing Contacts
- Click Continue to Review
- Verify correct information and click add
- Copy and Paste
- Paste in list and tick the box
- Select Continue to Match
- Select the boxes you want MailChimp to assign
- Select Continue to Match
- Add Tag (Group and Date, Event title, etc) and select Update Existing Contacts
- Click Continue to Review
- Verify correct information and click add
- Upload File
Template Management
Each email template is built on content blocks. This section will document how to manage each of the templates.
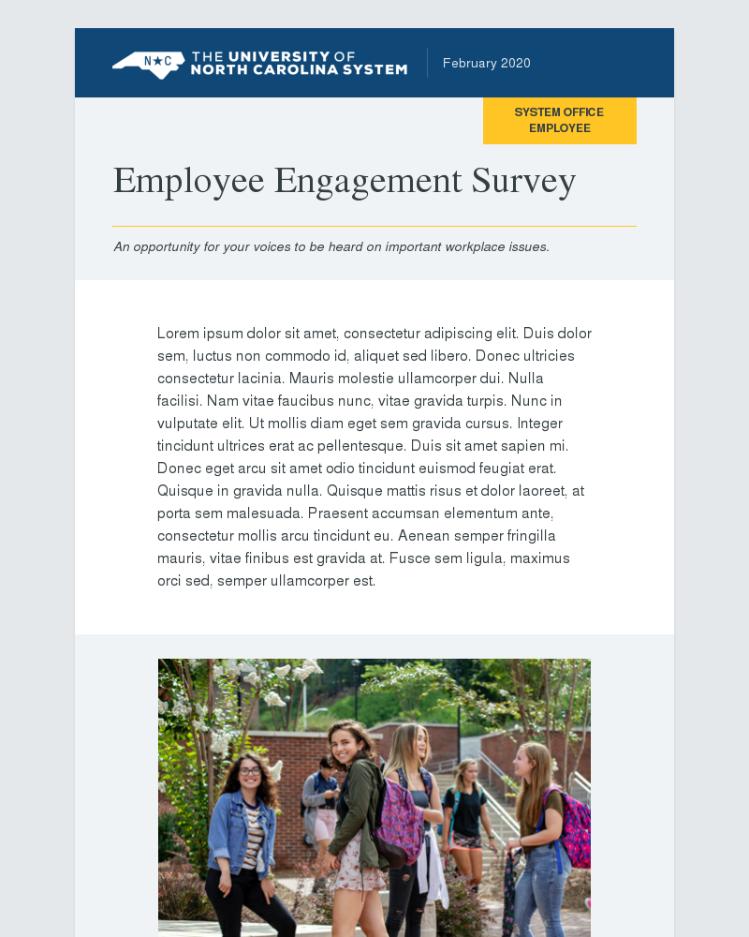
Single Column Announcement
- Select the Single Column Announcement template
- Edit the content blocks
- Date
- Audience Block
- Title
- Sub-Title
- Main Content Block
- Call to Action
- To test the email, click on the “Preview” link found in the upper right corner of the page
- Enter the email address(es) that you would like to receive the test email
- Send the test email
- If everything resolves correctly, click the blue “Continue” button to schedule the sending of the email
- You will be taken to the screen where you can finalize the email.
***Be sure to add the subdomain email@systemoffice.northcarolina.edu or the email could be sent to the junk folder.**
Here is a video that demonstrates how to manage the Single Column Announcement Template: https://www.loom.com/share/149d37bb44a84e1bbb6c3d9f8c75f5bc
– Notes –
You can enter the “To,” “From.” and “Subject Line” as well as schedule or send the email
To schedule an email, click the Schedule button, and select the date and time.
Do not forget to add the subdomain to the from address; ex. sender@systemoffice.northcarolina.edu. Otherwise, the email could end up in the recipient’s junk email folder.
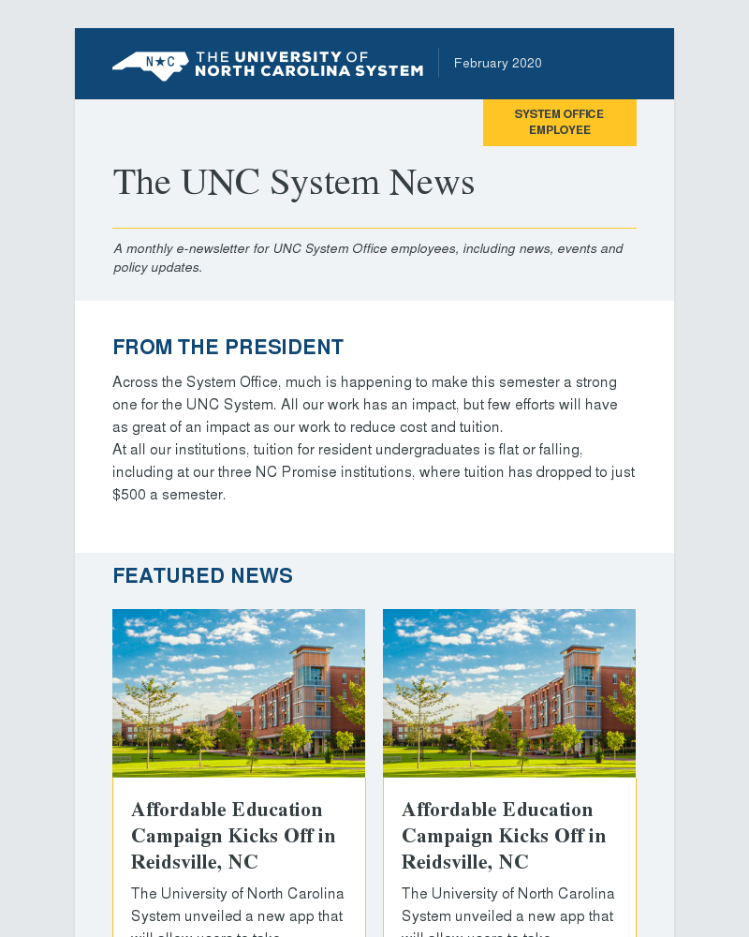
UNC Newsletter Template Premade
- Select the UNC Newsletter Template Premade template
- Edit the content blocks
- Date
- Audience Block
- Title
- Sub-Title
- First Text Block
- Featured News – Hover over the section to display the “+” and “-” buttons, which will allow you to add additional rows. After adding a row, remove any additional items you do not need by hovering over the item and clicking the eye icon. The item will fade and will be hidden. (This also applies to the Event Items and Announcements) Note: the image size for each entry is 542 px x 362 px
- Calendar – Hover over the section to display the “+” and “-” buttons, which will allow you to add additional rows
- Text Block
- Announcements – Hover over the section to display the “+” and “-” buttons, which will allow you to add additional rows
- Image – Hover over the image to edit. Note: The dimension of the image should be: 560 px x any height.
- Call to action – This can be removed from the email. Hover over the block and click the eye icon.
- To test the email, click on the “Preview” link found in the upper right corner of the page
- Enter the email address(es) that you would like to receive the test email
- Send the test email
- If everything resolves correctly, click the blue “Continue” button to schedule the sending of the email
- You will be taken to the screen where you can finalize the email.
- You can enter the “To,” “From.” and “Subject Line” as well as schedule or send the email
- From (set sender name and email)
***Be sure to add the subdomain email@systemoffice.northcarolina.edu to the from address or the email could be sent to the recipient’s junk folder.*** - To schedule an email, click the Schedule button, and select the following information:
- Date
- Time
Here is a video that demonstrates how to manage the UNC Newsletter Premade Template: https://www.loom.com/share/d9aecdd48ae345f1ac3d5f3861a5497e
– Notes –
Featured News image size for each entry is 542 px x 362 px.
Announcement image size should be 560 px wide.
You can enter the “To,” “From.” and “Subject Line” as well as schedule or send the email
Do not forget to add the subdomain to the from address; ex. sender@systemoffice.northcarolina.edu. Otherwise, the email could end up in the recipient’s junk email folder.
To schedule an email, click the Schedule button, and select the date and time.
Newsletter Email Template
- Create a campaign and select the Newsletter Email Template. Note: This template will allow you to select which sections appear in the newsletter. You will need to add each section manually
- Add content blocks
- Hover over the first block, and click the “+” sign.
- A text block will appear. Use the drop-down menu to change the type of content block
- Once the block is added, you can hover over the section to display the “+” and “-” buttons, which will allow you to add additional rows. (See above to review how to manage each content area.)
- To test the email, click on the “Preview” link found in the upper right corner of the page
- Enter the email address(es) that you would like to receive the test email
- Send the test email
- If everything resolves correctly, click the blue “Continue” button to schedule the sending of the email
- You will be taken to the screen where you can finalize the email.
Here is a video that demonstrates how to manage the UNC Newsletter Template: https://www.loom.com/share/dc3b6b9a718d4ee78e6468ece83d05c0

– Notes –
This template will allow you to select which sections appear in the newsletter. You will need to add each section manually
You can enter the “To,” “From.” and “Subject Line” as well as schedule or send the email
To schedule an email, click the Schedule button, and select the date and time.
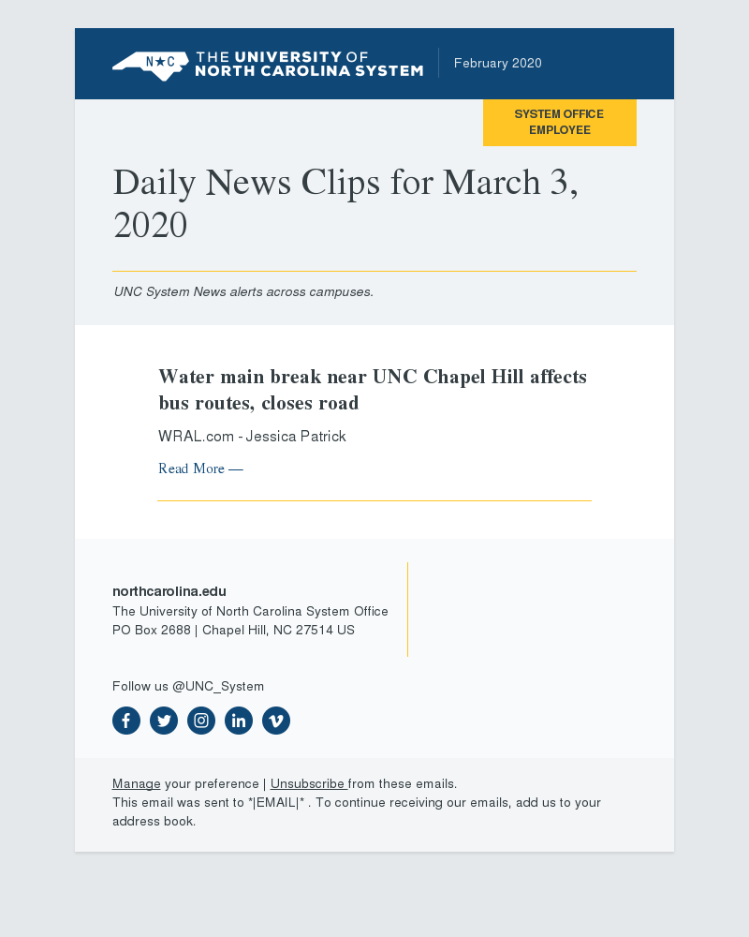
Daily News Clips
- Create a campaign and select the Daily News Clips template
- Edit the content blocks:
- Date
- Audience Block
- Title
- Sub-Title
- News Entry
- Hover over a content block to add a new content block
- To test the email, click on the “Preview” link found in the upper right corner of the page
- Enter the email address(es) that you would like to receive the test email
- Send the test email
- If everything resolves correctly, click the blue “Continue” button to schedule the sending of the email
- You will be taken to the screen where you can finalize the email.
Here is a video that demonstrates how to manage the Daily News Clips Template: https://www.loom.com/share/2c25a199505c4299987cf6f55b4ea39d
– Notes –
You can enter the “To,” “From.” and “Subject Line” as well as schedule or send the email
Do not forget to add the subdomain to the from address; ex. sender@systemoffice.northcarolina.edu. Otherwise, the email could end up in the recipient’s junk email folder.
To schedule an email, click the Schedule button, and select the date and time.
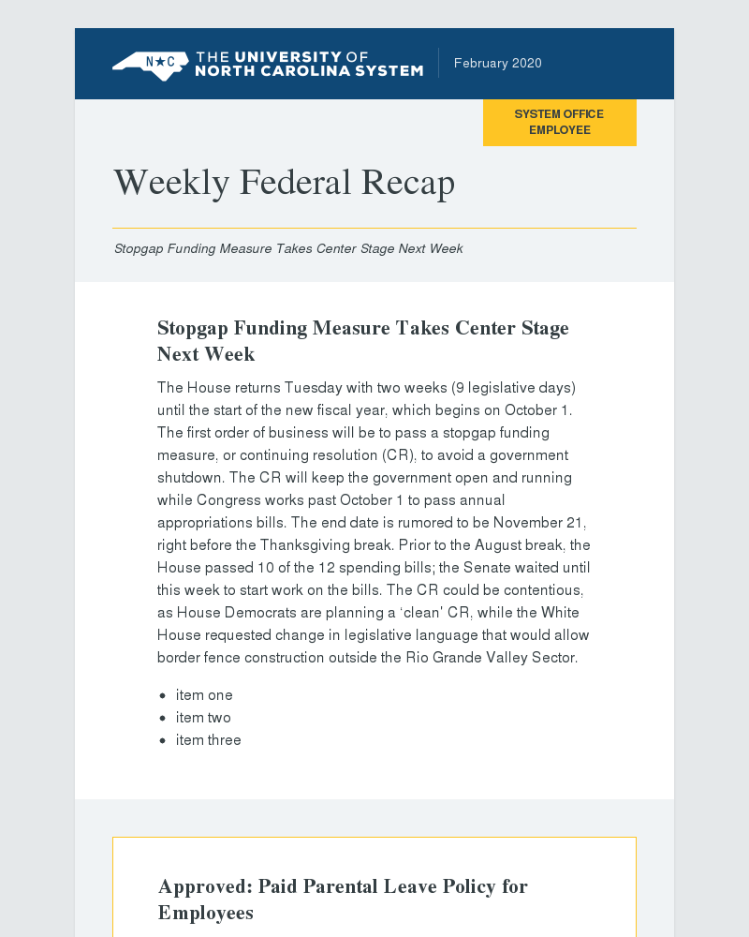
Weekly Updates Template
- Create a campaign and select the Weekly Updates Template
- Edit the content blocks
- Date
- Audience Block
- Title
- Sub-Title
- Recap Entries
- Hover the content block and click the “+” to add a content block
- Featured News Entries
- Hover the content block and click the “+” to add a content block
- To test the email, click on the “Preview” link found in the upper right corner of the page
- Enter the email address(es) that you would like to receive the test email
- Send the test email
- If everything resolves correctly, click the blue “Continue” button to schedule the sending of the email
- You will be taken to the screen where you can finalize the email.
Here is a video that demonstrates how to manage the Weekly Updates Template: https://www.loom.com/share/c249213e80274aafbb43a17e93243866
– Notes –
You can enter the “To,” “From.” and “Subject Line” as well as schedule or send the email
Do not forget to add the subdomain to the from address; ex. sender@systemoffice.northcarolina.edu. Otherwise, the email could end up in the recipient’s junk email folder.
To schedule an email, click the Schedule button, and select the date and time.
Event Invite Template
- Create a campaign and select the Event Invite Template
- Edit the content blocks:
- Date
- Audience Block
- Title
- Sub-Title
- Image (446px x 310px)
- Date and Time
- Organization
- Location
- Content Area
- Registration Link
- To test the email, click on the “Preview” link found in the upper right corner of the page
- Enter the email address(es) that you would like to receive the test email
- Send the test email
- If everything resolves correctly, click the blue “Continue” button to schedule the sending of the email
- You will be taken to the screen where you can finalize the email.
Here is a video that demonstrates how to manage the Event Invite Template: https://www.loom.com/share/f2aa39fe10d049f39b19d2b12085daa2

– Notes –
Announcement image size should be 446px x 310px.
You can enter the “To,” “From.” and “Subject Line” as well as schedule or send the email
Do not forget to add the subdomain to the from address; ex. sender@systemoffice.northcarolina.edu. Otherwise, the email could end up in the recipient’s junk email folder.
To schedule an email, click the Schedule button, and select the date and time.
Senior Personnel Announcement Template
- Create a campaign and select the Senior Personnel Announcement Template
- Edit the content blocks
- Date
- Audience Block
- Title
- Sub-Title
- Profile Section
- Image: 720px x 960px
- Name
- Title
- Brief Description or Excerpt
- Content area
- Call to action
- To test the email, click on the “Preview” link found in the upper right corner of the page
- Enter the email address(es) that you would like to receive the test email
- Send the test email
- If everything resolves correctly, click the blue “Continue” button to schedule the sending of the email
- You will be taken to the screen where you can finalize the email.
- You can enter the “To,” “From.” and “Subject Line” as well as schedule or send the email
- To schedule an email, click the Schedule button, and select the following information:
- Date
- Time
Here is a video that demonstrates how to manage the Senior Personnel Announcement Template: https://www.loom.com/share/3dcf3ab3746e474183e07867fa118e31
– Please Note –
This template is reserved for HR and the President’s Office. If you want to use it, please ask!
Audience Management
To manage the contact list, click on the Audience link found at the top of the screen:
Once in this section of the site, you will be able to manage all aspects of the contact list:
- Manage Contacts
- View Contacts
- Segments
- Import History
- Export
- Add Contacts
- Manual
- Import – We recommend always using a CSV file
- Signup Forms
- Create Signup Forms
- Embedded forms or Form integrations
- Create Signup Forms
- Settings
- MailChimp account settings
- Surveys
- Create and manage surveys
Segments and tags
- Segment: We use the term segment in two ways: as a verb and a noun. To segment is to take the action of filtering and dividing similar contacts. The resulting list of contacts is also called a segment.
- Tags: Tags are labels you create to help organize your contacts. Tagging lets you bring your own contact structure into Mailchimp and label contacts based on data you know about them. Tags are highly customizable, so you can create and assign them as you see fit.
– Note –
Add a tag to address imports so you can easily find them later.
Adding the same address multiple times will only create one contact.
Reporting
To view reporting for each campaign, there are two options:
- Click on the “Reports” link found at the top of the screen. Click on the campaign, and click the “View Report” button found in the upper right-hand corner: Each campaign will be listed.
- To the right of the campaign, click on the “View Report” link to view all the campaign metrics:
Metrics include
- Overview
- This will provide an high level overview of the campaign activity
- Activity
- Reporting on:
- Sent To
- Open
- Didn’t Open
- Clicked
- Bounced
- Unsubscribed
- Complained
- Reporting on:
- Links
- Reporting on links clicked
– Note –
Add a tag to address imports so you can easily find them later.
Adding the same address multiple times will only create one contact.
Surveys and RSVPS
To access the survey functionality, click on the “Audience” link at the top of the page.
Once on the “Audience” page, click on the manage audience drop-down and select “Surveys”
This will take you to the Survey section of the MailChimp account, where you will be able to edit existing surveys and create new surveys.
To create a survey or Rsvp:
- Click the grey “Create Survey” button
- This will take you to a screen where you will be able to add questions. To add questions, click on the teal “Add Questions” button
- Click the “Add a question” link at the top of the page to add a question
- You may add the following types of questions:
- Radio Button (single response)
- Checkbox (multiple responses)
- 0-10 Range (select a score or rating from 0-10)
- Open text (text box)
- You may add the following types of questions:
- Add the title of your survey at the top of the page
- Click Design to change the colors and style of the survey
- When complete, click the “Save & Close” button that appears in the upper right-hand corner of the screen
- You will be taken to the management screen, where you will be able to:
- Activate the survey
- Copy the URL
- Share via Facebook, Twitter, or Email
- View Responses
To edit an existing survey or RSVP Form:
- Click on the existing survey title
- This will take you to the survey interface, where you can edit, add, or delete new questions
- To do, click on the question, you would like to edit, and change any of the following items:
- Question
- Question Type
- Radio Button (single response)
- Checkbox (multiple responses)
- 0-10 Range (select a score or rating from 0-10)
- Open text (text box)
- Responses
- When complete, click the Save & Close button that appears in the upper right-hand corner of the screen.
- When complete, you will be taken to the management screen, where you will be able to:
- Activate the survey
- Copy the URL
- Share via Facebook, Twitter, or Email
- View Responses
Campaign Archive Management
MailChimp stores all the sent messages in a Campaign Archive. The campaign archive is a free, shareable landing page that displays links to your audience’s 20 most recent campaigns.
The UNC System Office Campaign Archive can be found here.
Access the Campaign Archive Page
To access the Campaign Archive page, please follow these steps:
- Click on the Audience link at the top of the page
- On the audience page, click the “Manage Audience” dropdown and click the “SignUp forms” link
- Click on the “Form builder” link
- From the “Forms and Response email, select the Campaign archive page
- On the Campaign Archive page form builder, you can:
- Design the Campaign Archive page
- View the public URL
- Select the folder where the public newsletters appear
Here is a video that demonstrates how to manage the Campaign Archive page: https://www.loom.com/share/badb62c7550942859773a0b99ea3d79c
Control/Filter Campaign Archive
- Click on the Audience link at the top of the page
- This will take you to the Audience page. On this page, click the “Manage Audience” dropdown and click the “SignUp forms” link
- This will take you to the Forms page. Click on the “Form builder” link
- This will take you to the Form builder page. From the “Forms and Response email, select the Campaign archive page
- Check the box next to Only show campaigns in a specific folder, and select the folder from the drop-down menu.
Here is a video that demonstrates how to manage the Campaign Archive page: https://www.loom.com/share/badb62c7550942859773a0b99ea3d79c
Assigning Emails to “Public Campaigns” Folder
To control the emails that appear in the Campaign Archive, please follow these steps:
- From the MailChimp Dashboard, click on the Campaigns link
- Select the Campaign(s) that you would like to make public
- In the upper right, click on the “Move To” drop down and select the “Public Campaigns” folder
Here a video that demonstrates how to assign a campaign to folder and generate a public archive page: https://www.loom.com/share/6c5a1881e2c3408faafaedb6bc91ef20